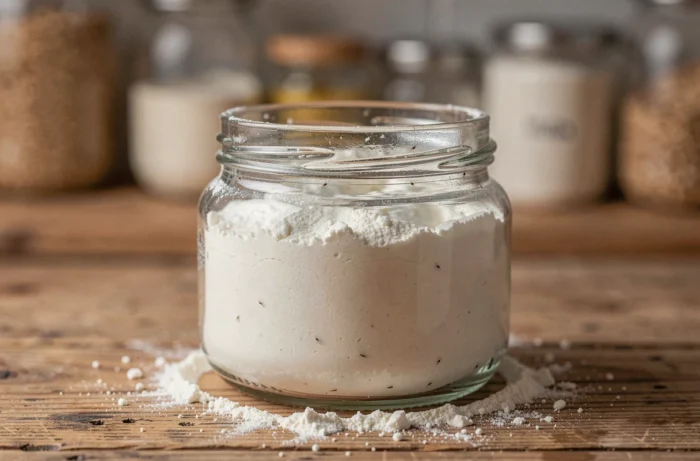
Flour mites measure just a few tenths of a millimeter. At that scale, an infestation can spread for weeks inside a cupboard without any visible warning signs. Identifying these storage mites means knowing what to look for, where to search, and which sensory clues distinguish them from ordinary accumulated dust.
Flour mites, booklice and pantry moths: a comparison of visible differences
Several tiny organisms can coexist in kitchen cupboards. Confusing them can lead to using the wrong treatment. The table below brings together the most reliable distinguishing features, visible to the naked eye or with a magnifying glass.
| Feature | Flour mite (Acarus siro) | Booklouse | Pantry moth |
|---|---|---|---|
| Adult size | Less than half a millimeter | One to two millimeters | About one centimeter (moth) |
| Color | Translucent white to cream | Light gray-brown | Grayish wings, whitish larva |
| Movement | Slow; a mass of mites can be seen moving under a magnifying glass | Fast, with short jumps | Erratic flight as an adult |
| Main location | Surface of flour, cereals, cheeses | Books, damp cardboard, walls | Cereal packets, dried fruit |
| Smell clue | Slightly sweet smell; altered taste of the product | No noticeable smell | Silky threads inside the packaging |
A bag of flour that tastes different for no apparent reason is an earlier warning sign than moving dust. Many guides focus on appearance, even though changes in taste and a slightly sweet smell often appear before the infestation becomes visible.
To better understand the danger posed by flour mites in the kitchen, it is also important to look at the conditions that encourage them to multiply.

Humidity and temperature: the two factors that speed up a flour mite infestation
Flour mites do not appear at random. Their proliferation depends on two measurable factors: the humidity of the storage environment and the ambient temperature. A cupboard above a dishwasher or near a stovetop is exposed to both heat and water vapor—conditions that shorten these mites’ reproductive cycle.
How storage conditions make a difference
A complete life cycle (egg, larva, nymph, adult) takes just a few weeks in a warm, humid environment. In a cool, dry cupboard, the same cycle slows down enough to keep the population at an almost undetectable level.
The deciding factor is not the flour itself, but how long a food product is stored in conditions that favor mites. An opened bag of flour left for several months in a poorly ventilated cupboard poses a much greater risk than a new packet used up within a few weeks.
- Store flour and cereals in airtight glass or rigid plastic containers, never in the original bag closed with a rubber band.
- Keep dry goods away from sources of steam (dishwasher, sink, kettle) and exterior walls prone to condensation.
- Rotate your supplies: a packet that has been open for more than two months in a poorly ventilated cupboard should be checked visually and by smell before use.
Spot a flour mite infestation before it spreads to neighboring cupboards
Identification depends on a combination of clues, not just one sign. Seeing a fine white dust on a shelf is not enough: it could be spilled flour, cleaning residue or booklice.
Clues to check together
Hold a lamp close to the suspicious surface. If the dust appears to move slowly, you are probably looking at a colony of flour mites. Confirm this by checking the nearest product: an unusual unpleasant taste or slightly sweet smell confirms the presence of storage mites.
Next, inspect the neighboring packages. Flour mites move from one container to another through gaps in the shelves. A packet of starch or breadcrumbs next to an infested bag of flour is a likely target.
The most common mistake is to throw away only the visibly affected product. Mite eggs are invisible and settle on cupboard surfaces. Without thoroughly cleaning the shelf, the mites will recolonize it within a few weeks.
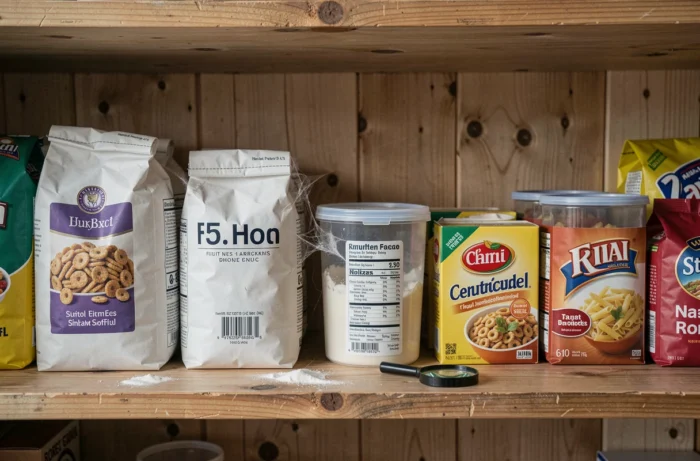
Getting rid of flour mites: cleaning steps and the limits of household biocides
Treating a flour mite infestation starts with physical measures. No chemical product can replace removing contaminated food and thoroughly cleaning the surfaces.
Practical cleaning steps
- Remove all food from the affected cupboard, including items that appear untouched. Put any suspect products in a sealed bag before throwing them away.
- Vacuum the inside of the cupboard, including the corners, hinges and undersides of removable shelves. Dispose of the vacuum bag immediately afterward.
- Clean the surfaces with hot water and white vinegar. Let them dry completely before putting the containers back.
- Only return products stored in airtight containers. Leave space between containers to allow air to circulate.
Some websites recommend spray insecticides. In a food storage area, spraying a biocide in direct contact with food creates a much more tangible contamination risk than the mites themselves. Biocidal products approved in France are subject to strict regulations, and their use in the kitchen requires following the application instructions on the label.
When to call a professional
If the infestation returns after two thorough cleanings, the problem probably extends beyond the cupboard. Flour mites may have colonized gaps in walls, service ducts or suspended ceilings where flour or organic debris has accumulated. A professional inspection can then identify the original source, which household cleaning cannot reach.
Flour mites do not pose a direct health risk comparable to rodents or cockroaches, but they can trigger allergic reactions in people sensitive to mites. The real reason for taking prevention seriously is less about losing a few bags of flour and more about indoor air quality in a kitchen where storage mite populations are not under control.