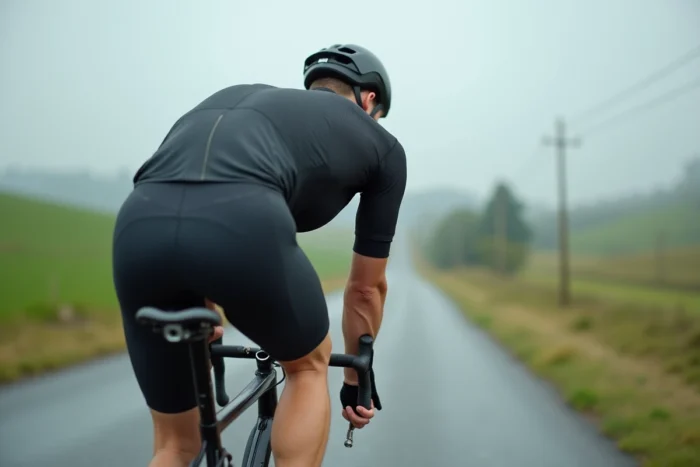
A RCR Pro Van Rysel delivered and assembled according to the torque specifications recommended by Decathlon may seem perfectly adjusted at the first kilometer. The question that arises concerns the stability of this position over time: which parameters drift after several hundred kilometers, and to what extent do these deviations affect performance and comfort on a race geometry frame?
Torque Specifications and Checkpoints for the RCR Pro Carbon Frame
The carbon frame of the RCR Pro imposes precise tightening constraints. The handlebar, for example, is fixed with a torque of 5 N.m in a cross-tightening pattern, maintaining equal space above and below once tightened. A common mistake is to tighten one bolt more than the other, creating a load asymmetry on the integrated stem.
The seat post requires the application of carbon grease on the tube before insertion. Without this grease, the post may slip under load, altering the saddle height during a ride. The torque specification for the seat clamp must adhere to the value indicated by the manufacturer to avoid two pitfalls: excessive tightening that cracks the carbon, or insufficient tightening that allows the saddle to move.
A often overlooked point: the jaws of a work stand or bike rack should never be placed on the top tube. Repeated pressure in this area can weaken the frame structure. The seat tube remains the recommended gripping area.
Mastering these RCR Pro Van Rysel adjustments upon receiving the bike conditions the reliability of all subsequent adjustments.

Saddle and Stem Adjustments to Recheck After 500 km
Field feedback converges on one observation: the position validated at assembly drifts after a few hundred kilometers. The recurring adjustments focus on two elements: saddle setback and stem length or angle.
Saddle Setback on an Aero Race Bike
The race geometry of the RCR Pro places the cyclist in an aggressive position, with a low stack and a long reach. In the first kilometers, the musculature compensates for this posture. After several rides, lower back pain or a loss of power in climbs often signals an inappropriate saddle setback.
The setback is measured relative to the bottom bracket axis. A slip of a few millimeters forward (common if the rail clamp is just at the threshold) alters the knee angle at the bottom dead center. Rechecking the saddle setback every 500 km allows for the detection of this type of drift before it generates persistent discomfort.
Stem and Handlebar Height
The aerodynamic cockpit of the RCR Pro limits adjustment possibilities compared to a classic handlebar-stem setup. The spacers under the stem remain the main lever for adjusting height. Removing a few millimeters of spacer to gain aerodynamic efficiency may seem trivial at first, but neck fatigue often appears after the third or fourth week of intensive use.
The most reliable approach is to ride with the original configuration for at least a month, then modify one parameter at a time, keeping the removed spacers to revert if necessary.
Shimano Ultegra Di2 Transmission and INPEAK Power Sensor: Performance Parameters
The Shimano Ultegra Di2 group on the RCR Pro offers electronic shifting that does not require mechanical cable adjustments. However, two software parameters directly influence pedaling efficiency.
| Parameter | Factory Setting | Recommended Adjustment After Break-in |
|---|---|---|
| Di2 Shift Mode | Semi-synchro | Test full sync mode on hilly terrain to reduce shifts |
| Shift Speed | Standard | Switch to fast mode if the pedaling style is aggressive (frequent accelerations) |
| INPEAK Sensor Calibration | Factory calibrated | Manually recalibrate before each key ride (zero offset) |
| Di2 Lever Position | Centered on the handlebar | Adjust the angle according to hand width after the first rides |
The original integrated INPEAK power sensor represents a concrete advantage of the RCR Pro over competing bikes at a comparable price, where this type of sensor costs several hundred euros as an option. Zero offset calibration before each ride ensures the accuracy of power data, a parameter on which all structured training relies.
Swiss Side Carbon Wheels and Tire Pressure: Daily Aerodynamics
The Swiss Side carbon wheels delivered with the RCR Pro contribute to its aerodynamic profile. Their performance depends on two factors that the cyclist directly controls:
- Tire pressure, which must be adapted to the cyclist’s weight and road conditions. Too high a pressure reduces the contact surface and degrades comfort without measurable aerodynamic gain. Too low a pressure increases rolling resistance.
- The tightening of the thru-axles, which should be checked regularly. A slightly loose axle generates lateral play in the hub, resulting in imprecision in corners and energy loss.
- The wear of brake pads (for hydraulic disc versions, check the thickness of the pads), as poorly maintained hydraulic braking increases stopping distances and creates residual drag if a piston does not retract completely.
The original Continental tires offer a good compromise between grip and efficiency. Switching to a wider tire than the original fit does not automatically improve comfort: it also alters the aerodynamic behavior of the rim, designed to work with a specific tire width.
A well-adjusted RCR Pro at assembly is just a starting point. The first 500 kilometers serve as a break-in period for both the cyclist and the bike. Saddle setback, stem height, power sensor calibration, tire pressure: each parameter deserves methodical verification after this initial phase.
Performance gains are found less in the purchase of additional components than in the rigor applied to maintaining a position and adjustments consistent with the actual use of the bike.